Introduction
Munic Box comes with a Web Tool for the configuration and the administration. This chapter describe the different features of this interface and how to use it.
Description
The features of this administration interface includes:
- Asset view
- Creation of asset's group
- Configuration creation
- Configuration campaign
- OTA firmware update upon request

Dashboard
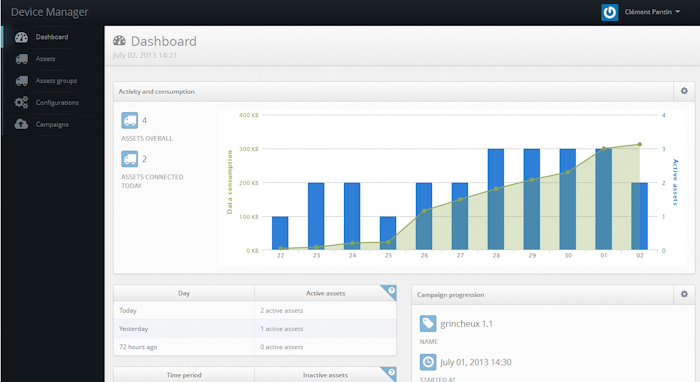
The dashboard session provides a global overview on your fleet:
- Activity of your devices: number of devices connected, number of inactive devices
- Status of the latest configuration update campaign
- Summary of the versions deployed on your devices - Coming soon
Assets
The Assets session lists all the Munic Box of your fleet:
- IMEI of the Munic Box
- Group affiliations
- Current configuration
- Latest activity
- Associated modules
- Possibility to display the data of your device on our web demo interface
- Possibility to check the configuration of your box
Assets groups
Groups can be defined to affiliate a batch of Munic Box. Groups are very useful to quickly identify your Munic Box for a given project. Hence, a configuration can be applied to a complete group instead of selecting all the Munic Box for the configuration update.
Configurations
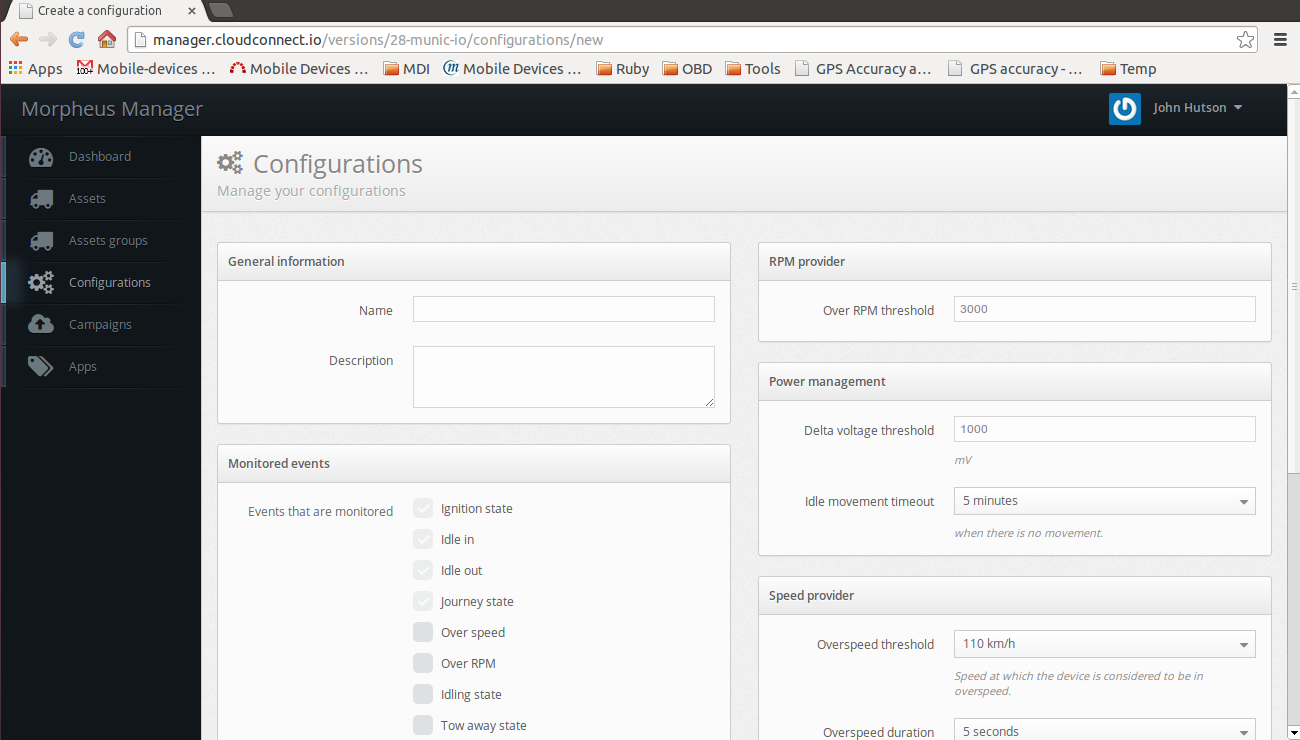
The Configurations session is one of the most important one. Indeed, this session allows you to adapt and apply the configuration of your Munic Box.
Two types of configurations can be applied:
- Base configuration
- Module configuration
Base configuration
The base configuration corresponds to the global tracking configuration:
- Events to monitor (more details here)
- RPM provider configuration for the over RPM event
- Speed provider configuration for the over Speed event
- Power management configuration
- Battery provider configuration
- Selection of speed data recording either based on GPS speed or OBD speed

Module configuration
Modules can be linked to your Munic Box. Modules description and prices are available in the store. It provide additional features and services to your Munic Box.
Once a module is linked (link procedure details available here), you can adapt the module configuration in this session. Please refer to each module documentation.
By default, some modules are linked with your Munic Box. These modules names are prefixed by "0 -". It is recommended to configure them before launching your tests:
- Data recorded upon journey event: Select the fields to record on journey state change
- Fuel configuration: Vehicle configuration for the fuel estimation
- Driver Behavior: Driver behavior event to trigger (acceleration, deceleration, turn left, turn right).
- Power management: Munic Box conditions to go to idle mode
Campaigns
For each configuration update, a campaign must be defined and launched. When you launch a campaign, the following information must be specified:
- Name of the campaign
- Select the configuration to apply
- Select the group of assets - Optional
- Select all the assets on which the configuration must be applied. Note that you can have both a group and some assets for one campaign.
The status of the campaign is given in the dashboard.
Update procedure
This session explains the steps to follow in order to apply configurations on your Munic Box.
- Log into your account on the administration platform.
- Click on the "Configurations" session
- Select the type of configuration to apply: base configuration or module configuration.
Base configuration
Several OS versions are available, depending on the Munic Box firmware. This version is automatically detected and associated to your Munic Box when this one is connected. This version is accessible in the Assets session:

Create a configuration adapted to your Munic Box.
A wrong version of base configuration can't be applied on your Munic Box as explained below.
Module configuration
Each module has its own configuration form. Please refer to each module documentation.

4. Fill the configuration form and save it.
5. Click on the "Campaigns" session
6. Click on the "Add a campaign" button
7. Fill the campaign form. The form automatically checks if the configuration to apply is compatible with your Munic Box. That's why a wrong base configuration can't be applied on a device.
8. Save the campaign.
9. Launch the campaign

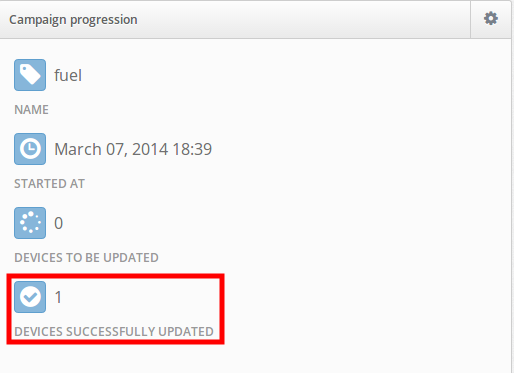
10. The configuration update is automatically done at the next connection of Munic Box. The status of the campaign is given in the dashboard or in the "Assets" session. The 2 following screenshots indicate a successful update.


Important notes
Please find additional rules applicable to the configuration:
- It is recommended to connect the Munic Box before applying a base configuration. Indeed, the platform can auto-detect the base version of your Munic Box.
- Only one configuration (base or module) is applied per campaign.
- A campaign must succeed before applying another campaign (for base or module configurations). Otherwise, only the latest campaign is taken into account and launched (the previous ones are ignored even if they were launched). It is recommended to check the status for each campaign before launching another one.